If you’ve got an aversion to GroupMe but still want a messaging app with all its capabilities, you’re not alone. Fortunately, thanks to the growing popularity of messaging platforms, there are plenty of alternative apps to fit your specific communication needs.
This article will review some options and help evaluate each one to find the perfect GroupMe replacement.
Signal

Signal is an open-source messaging app with a heavy focus on security. Created by a non-profit organization, it’s supported by donations and grants. This means that it isn’t beholden to any government or corporation to survive. Signal doesn’t need to make money from its users, so it doesn’t collect, track, or sell any user data.
Signal is free, and its customer support is highly responsive. It’s popular among those who use it, but its user base is still small compared to GroupMe’s. Signal is available both for iOS and Android devices. Most users prefer Signal for its exceptional security.

Signal is still adding new features, so sometimes it doesn’t offer everything that other apps can. The minimalist approach to the platform has currently left out a number of features such as the ability to create reels, backgrounds for video chat, and filters. Voice and video calls are included in its arsenal of tools, however, as well as manually marking messages read and unread.
A noticeable difference with Signal is its personal PIN security feature. You can use your personal PIN to recover your profile if you switch devices, verify your identity, and recover your contacts or settings if you lose them. It also adds another layer of security within the app. When you send a message, you can designate an amount of time you want that message to be available to the recipient. After the allotted time elapses, the message disappears.
A final perk to Signal is when someone adds you to a group text, you have to approve it to be included. This prevents frustrating promotional texts or unwanted group text strings. Signal is an excellent alternative to GroupMe if security is a priority to you and you’re willing to sacrifice a few fancy features for a clean, streamlined design.
Pros
- Doesn’t collect or sell user data
- Ad-free
- End-to-end (E2E) encryption technology on everything
- Clean interface that is easy to learn
- Text, voice, and video chat
Cons
- Still developing a user base, so not as large as GroupMe’s clientele
- Occasional slow loading and app issues
- Not as many bells and whistles as some other apps

WhatsApp currently has the largest user base among messaging apps, with an estimated 2 billion users. This is a great perk since it makes it easy to connect with almost everyone you know. WhatsApp is primarily used on mobile devices, but it does offer options for both PC and Mac users as well. It’s free to use and takes up minimal storage space on the device that runs it.
WhatsApp is owned by Facebook (or Meta). It has end-to-end encryption on all messages, as long as both users have an updated app. WhatsApp also provides the added security feature of self-destructing messages and pictures. In 2021 WhatsApp updated its privacy policy, allowing Facebook access to its user data. This has caused major security concerns.

Voice and video calls are available, also end-to-end encrypted. WhatsApp promises that no one will be able to view your messages except you and the recipient. WhatsApp has a ton of extras like stickers, filters, and a built-in photo editor.
WhatsApp is extremely popular and has many features. Its constant and slightly suspicious privacy policy updates, however, have many users questioning its longevity. If sharing user data with Facebook doesn’t concern you, WhatsApp is an exceptional alternative to GroupMe.
Pros
- Large user base
- Text, voice, and video options
- Lots of features and perks
- Free
Cons
- Requires a phone number and list of contacts
- Backups have questionable security
- Owned by Facebook
- Privacy Policy Concerns
Telegram

Feature-rich, Telegram is another GroupMe alternative that focuses on speed and security. Free and very simple to use, it works to seamlessly sync messages across all your devices, including phones, tablets, or computers. Currently, it’s one of the 10 most downloaded apps in the world and has 700 million active users, and that number is growing.
Telegram targets both personal and business users. With Telegram, users can send messages, pictures, and videos but also files of any type. Groups can hold up to 200,000 people, so businesses aren’t limited when they broadcast messages to whole divisions. Interesting Telegram features include a GIF search and a sophisticated photo editor.
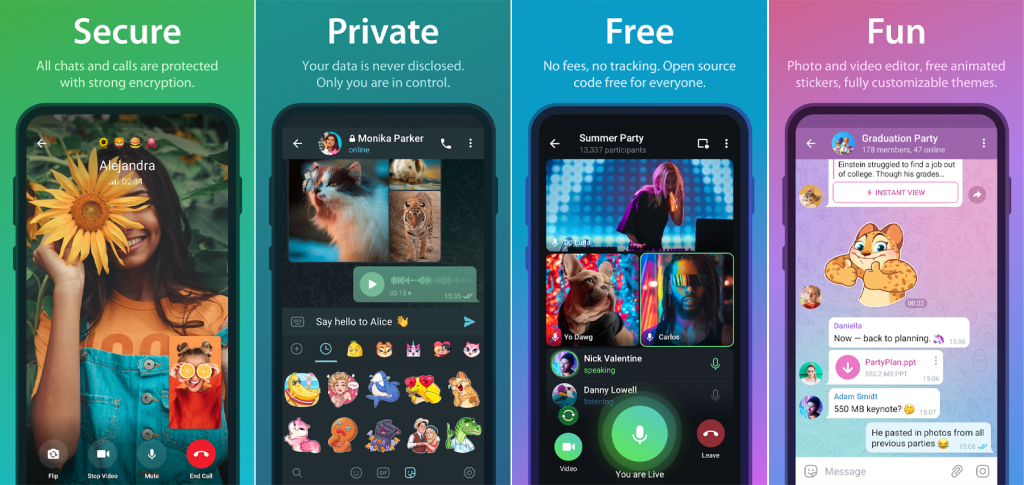
Telegram also works to take up as little space on your device as possible. It uses cloud support and manages caches carefully to leave a small storage footprint.
When it comes to security, Telegram gives its users options. Regular chat isn’t particularly secure, but it offers Secret Chats, with disappearing messages and end-to-end encryption. Telegram allows users to permanently delete any chat, while GroupMe doesn’t.
The perk that stands out with Telegram is its cross-platform syncing capabilities. While other apps lock down how many copies of the app you can have on certain kinds of devices, Telegram supports all your devices being able to communicate your messaging content to each other.
Pros
- Cloud Sync across all devices
- Text, voice, and video calls
- Doesn’t sell user data
- Encryption and security if you want it
- Basic app is free
- Ad-free
Cons
- Some features are pay only
- Secret Chat only available on the mobile app
Element

Element is a messaging app that champions the importance of decentralization. All message data isn’t stored in one place, and users can set up their own server for storage if they’d like. Element prioritizes security, offering end-to-end encryption on top of its decentralized storage. The app aims to make users feel like they have total ownership of their own data. When you sign up for Element, you choose a server to host your messages. It offers free servers, or you can pay for one, or you can host your own.
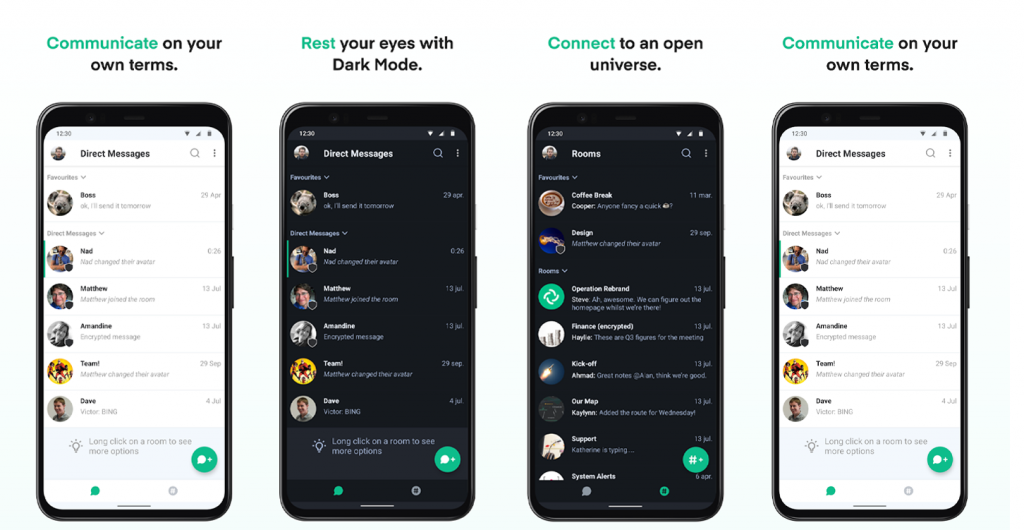
Element was previously known as Riot and Vector, and it’s been around in one form or another since 2016. Available on Android, iOS, Windows, macOS, and Linux platforms, it can also run on a web browser. Element offers the usual messaging features: voice and video calling, file sharing, a simple layout, and more.
Security is key to Element, so an extra feature is a secret key you receive when you sign up. You can use this key to verify new devices and to prove your identity. The basic app is available for free, but some extra features are reasonably priced.
Element isn’t as polished as some more popular apps, and the user base isn’t as big. But it’s a great messaging app for businesses in particular who want to have tight control of their data storage. It’s also useful for individuals who want to explore something other than the giant company apps.
Pros
- Decentralized data storage
- Solid security
- Can be used for free
Cons
- Not as polished as other apps
- User base is still small relative to other apps
Finding a GroupMe Replacement
Although GroupMe has a huge user base and many features, its constant crashing and lack of quality customer support have many users looking for an adequate replacement. With plenty of alternatives out there, it shouldn’t take too long to install and learn a new messaging app that causes fewer issues. Each app has its own highlights and disadvantages. Evaluating their strengths can ensure you pick the right one for you.
Do you have a favorite alternative to GroupMe? If so, what has your experience been like with multiple messaging apps? Let us know in the comments section below.


Disclaimer: Some pages on this site may include an affiliate link. This does not effect our editorial in any way.